Search for answers or browse our knowledge base.
DTS SecureForms
DTS SecureForms is an electronic paperless patient forms solution. Patients can electronically complete forms in your office using a tablet PC, from a computer outside the office, from an iOS or Android mobile device, or by clicking on a custom hyperlink on your website. Once completed by the patient, forms are emailed to you and can be saved to your practice management application. SecureForms is versatile, easy to use, and HIPAA compliant.
1. Creating Forms
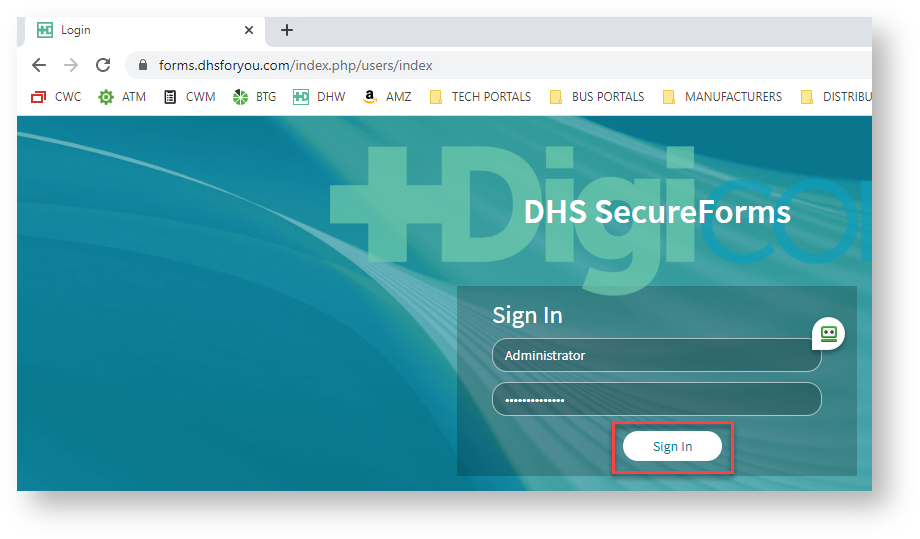
- Navigate to Portal: Navigate to to https://forms.dhsforyou.com/ using a desktop computer web browser.
- Enter Username and Password: Enter your login credentials and select “Sign In”.
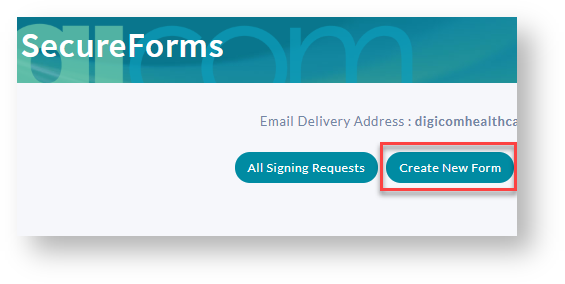
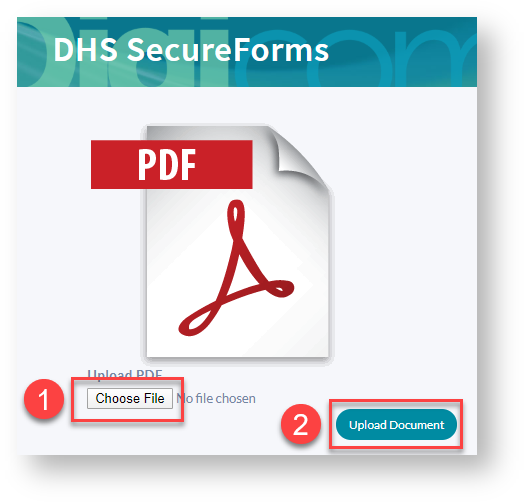
- Import PDF Form: To begin creating a new form, a PDF must first be used as a template. To upload the PDF, select “Create New Form” button, select “Choose File”, navigate to PDF form to upload and select “Upload Document”.


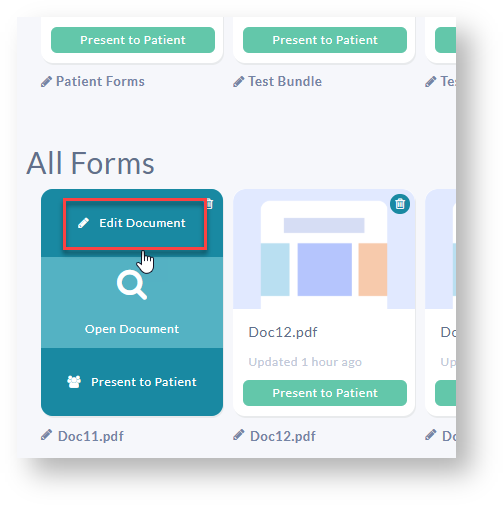
- Open Form in Edit Mode: Locate form under “All Forms” list on the dashboard and select “Edit Document”.

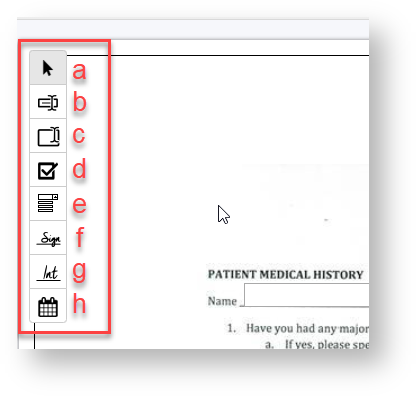
- Create Fillable Form Using the Editing Tools: Using the editor tools shown below, create a fillable form as demonstrated in video.
- Cursor: Moves objects to desired location on canvas. The cursor can also be used to select object delete button.
- Text Box: Creates a one line text entry field.
- Text Area: Creates a text entry box for multiple lines of text.
- Check Box: Creates a check box for confirmation type questions.
- Drop down: Creates a multi-value drop list for multiple response type questions.
- Signature: Create a signature box for so patient can sign using their finger (on touch-enabled devices) or by using a mouse or touch pad if signing using non touch-enabled device.
- Initial: Creates box for initials on form where desired.
- Date: Enters today’s date when form is completed.

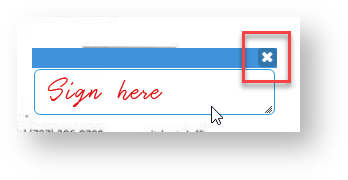
- Deleting a Field: Click the “X” box on the upper right hand corner of any filed to delete the item.

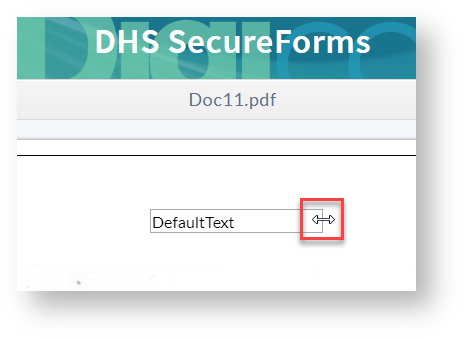
- Resizing Fields: Fields can be resized by clicking and dragging the bar on the edge of the field.

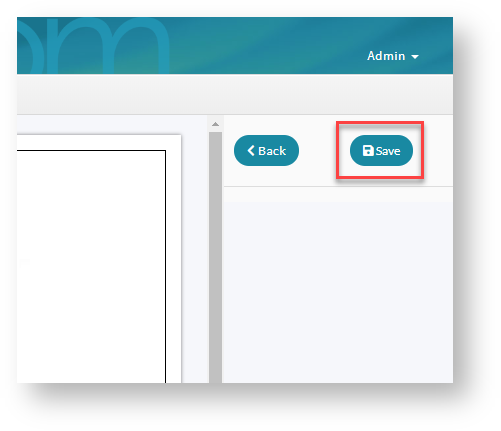
6. Save Form: When all desired changes have been made, select the “Save” button on the top right. Alternatively, selecting “back” will exit the editor without committing any changes.
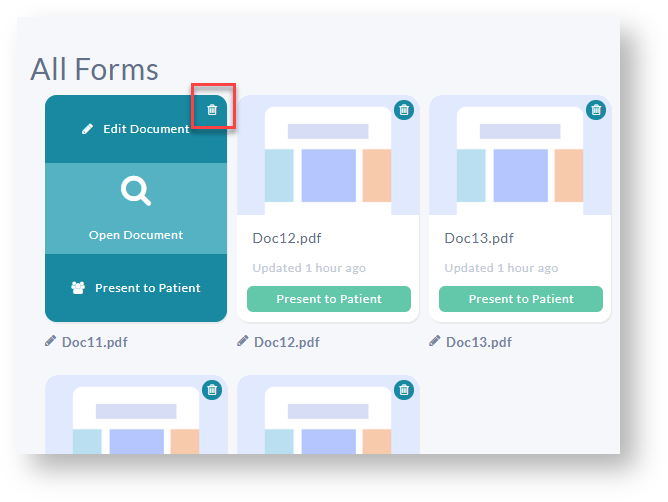
- Deleting a Form: If a form needs to be deleted, click the trash icon on upper right hand corner of form. Then select “OK” to confirm deletion.

2. Creating Form Bundles
Bundles are used to combine multiple forms, so a patient can complete all forms in one individual session. Form bundles are optional and not required to use DTS SecureForms. If you do not need to use form bundles, skip to the next section.
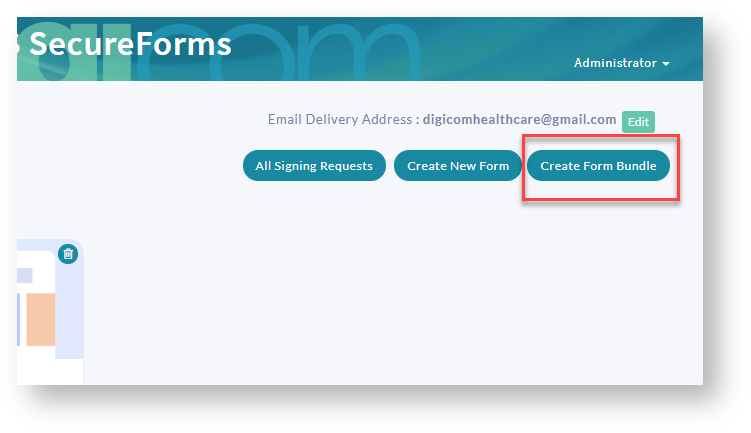
- Click “Create Form Bundle” Button: From SecureForms dashboard, click “Create Form Bundle” button.

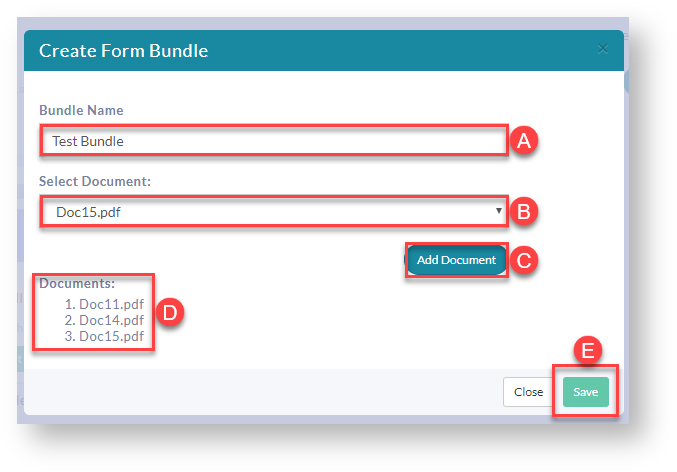
- Specify Bundle Settings & Save:
- Create a name for the bundle.
- Select a document to add to the bundle.
- Select the “Add Document” button.
- Documents in the bundle will be listed on bottom. Repeat steps “b” and “c” for each additional document required for bundle.

-
- Bundles Cannot be Edited: Bundles cannot be edited once they are saved, but the documents can be edited individually. If a bundle is incorrectly configured, it will need to be deleted and recreated.
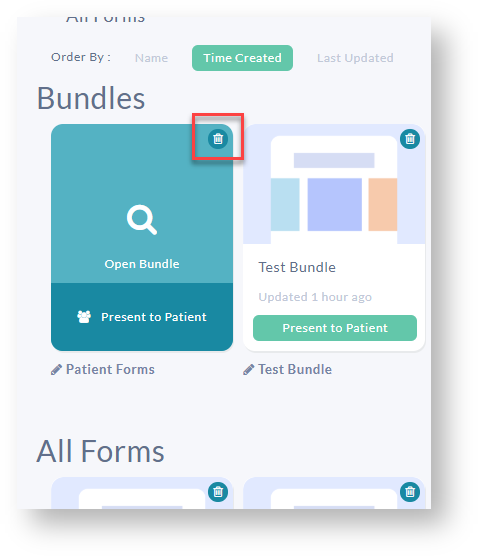
- Deleting a Bundle: Select the trash can icon on upper right hand corner of any bundle to delete.

Click “Save” button to create bundle.
3. Configuring Patient Email Template
Forms that are emailed to patients use an email template which must be configured before sending forms via email.
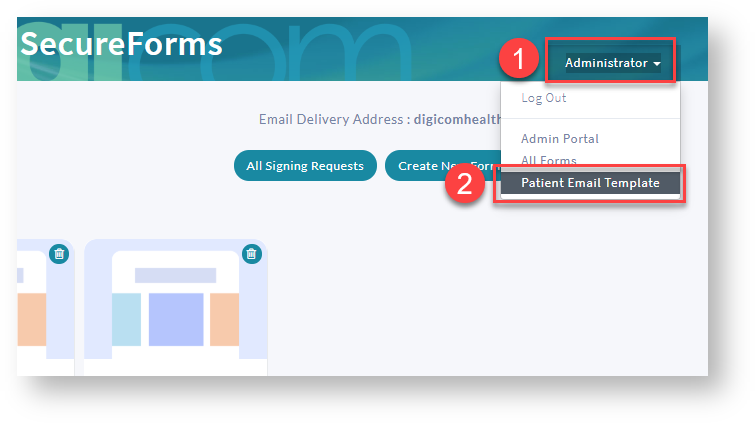
- Navigate to Email Template Module: From the Dashboard, in the top right hand corner, click your username and select the “Patient Email Template” menu item.

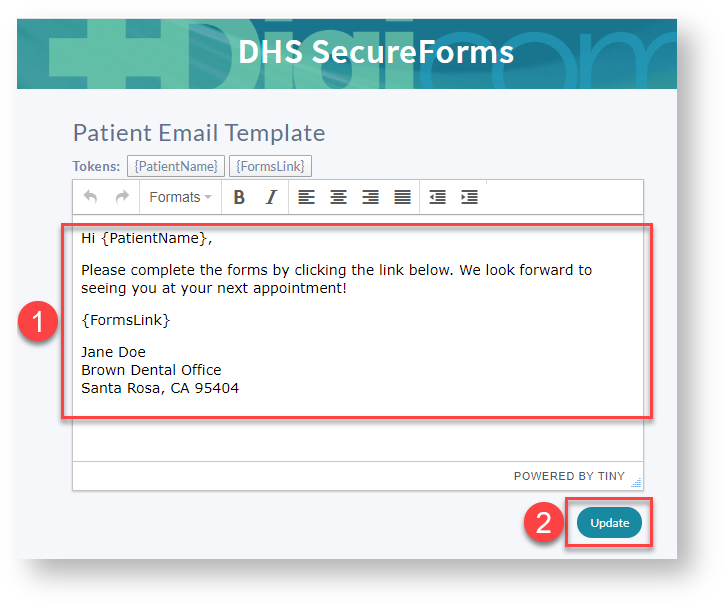
- Edit Template: Using the editor, insert the “{PatientName}” token as placeholder for patient’s name (automatically inserted when forms are sent), insert “{FormsLink}” as a place holder for selected forms, edit the text to suit your practice and click “Update” when all desired changes have been made.

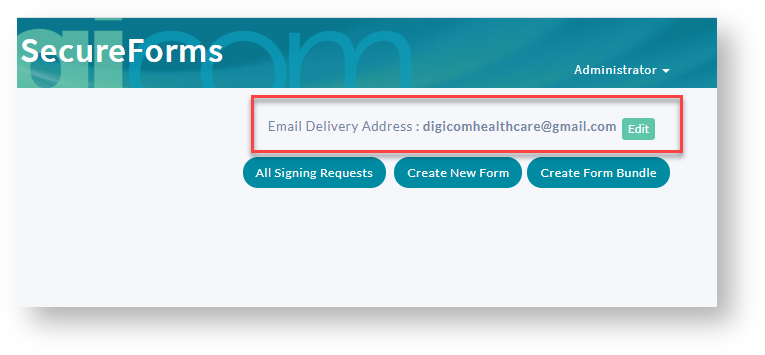
- Specify Email Delivery Address: In the dashboard, at the top right hand side, select the “Edit” button, enter the the email address that completed forms should be be sent to and click “Save” button to save settings

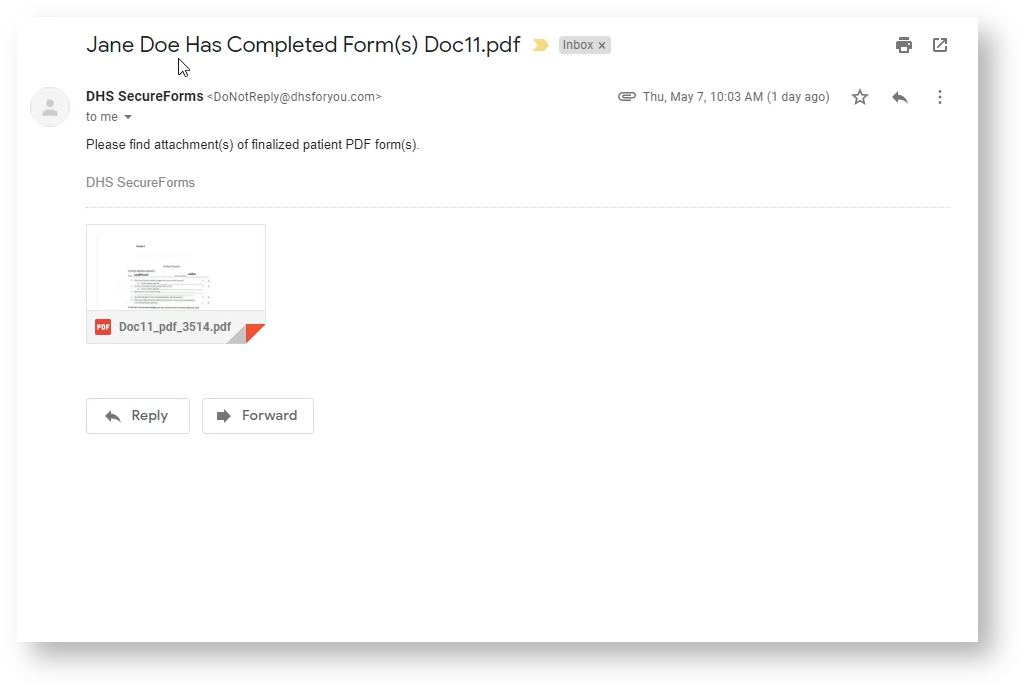
- Incoming Emails: Completed patient forms (i.e. those that have been selected as “Email to Patient” during the sending out process) will show up in the email address inbox that was specified in the previous step (IV.4). This format will be:
- Subject: “Patient Name]” Has Completed Form(s) “[Form(s)].pdf””.
- From: [email protected]
- Body: “Please find attachment(s) of finalized patient PDF form(s).

- Incoming Emails: Completed patient forms (i.e. those that have been selected as “Email to Patient” during the sending out process) will show up in the email address inbox that was specified in the previous step (IV.4). This format will be:
4. Sending Forms or Bundles to Patients
- Select Desired Form: Hover over or touch desired form or bundle and select “Present to Patient”.

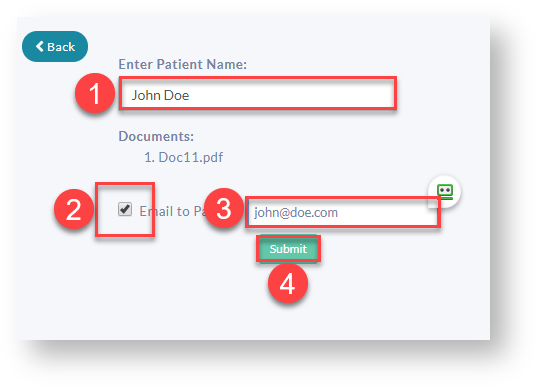
- Select Form Options:
- Enter the Patient’s Name.
- If presenting to patient while in the office using a tablet, DO NOT select “Email to Patient” option and simply select “Submit.
- If the goal is to email form to patient, select “Email to Patient” option, specify patient’s email address and click “Submit”. If selecting “Email to Patient” option, the next step is not required.

- Ask Patient to Complete From: If presenting to patient while in the office using a tablet, hand tablet to patient or allow them to proceed with completing form.

5. Patient Experience Filling Forms
The following section describes the form filling process from the patient’s perspective.
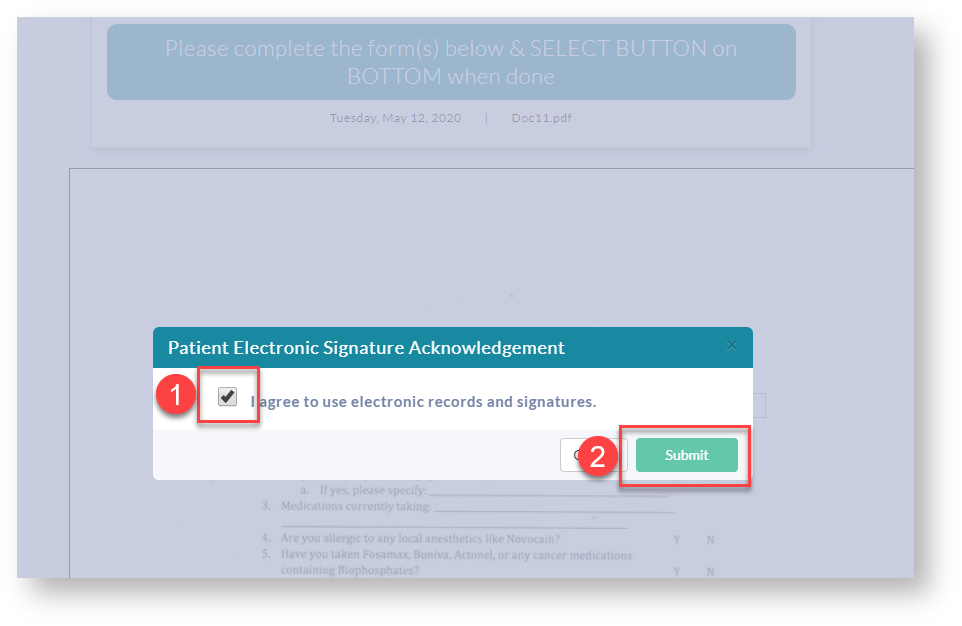
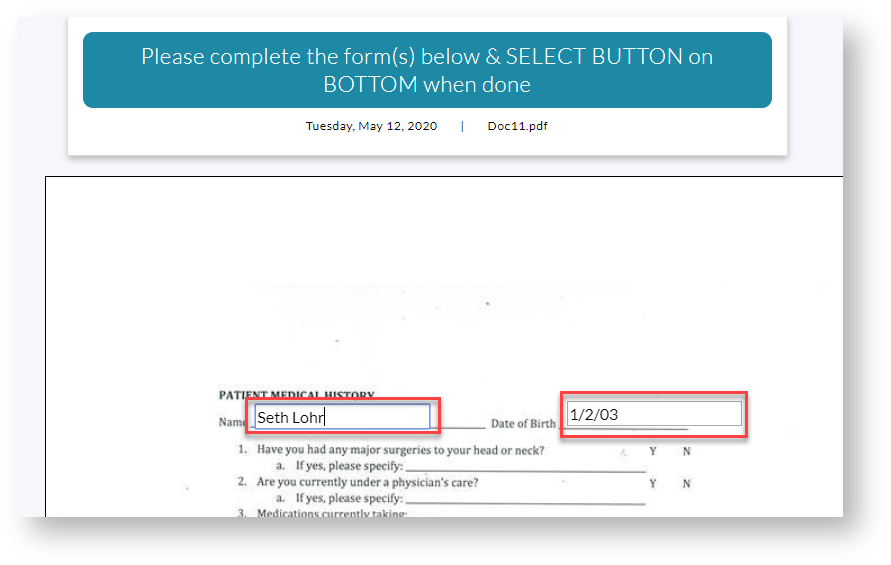
- Acknowledging Electronic Form: When patient is given the tablet while in the office or they receive form completion request via email, they will first need to acknowledge the electronic forms process before they may begin completing the form.

- Completing the Form: The patient begins the process of completing the form.

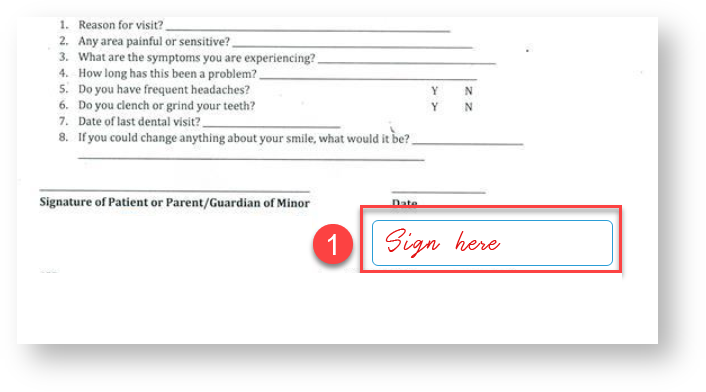
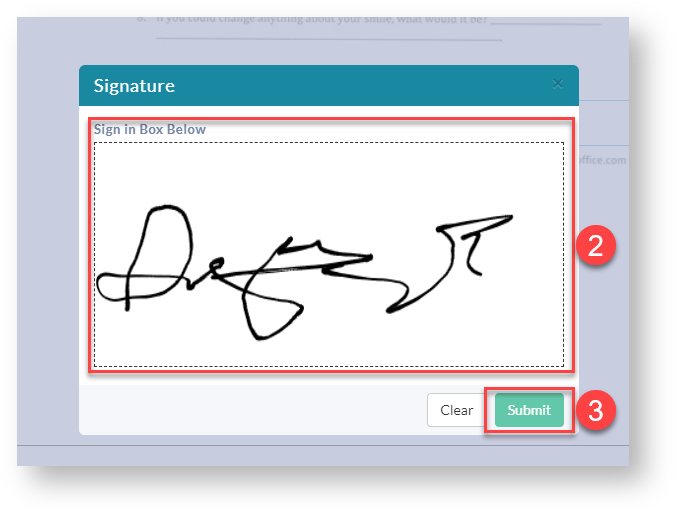
- Signing the Form: If the patient is using a computer, the mouse is used to create the signature. If they are using a tablet or smartphone, a finger is used to sign the form.


- Submitting the Form: Once the form is signed and all fields/forms have been completed, the patient selects the “Submit” button and then “Yes” to confirm. If the form is a bundle, the patient will be prompted to click “Next Document” to advance to the next form until all forms are completed.

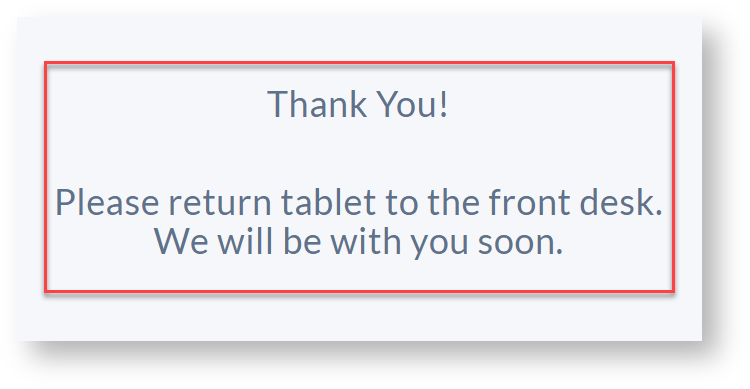
- Form Completion: Once form(s) are completed while using a tablet in your office, patient will receive the first message shown below on the tablet screen, requesting that they bring the tablet up to the front desk. If completing an emailed form or form linked on your website, the second message below will refer to their next appointment.


6. Viewing Signing Request Status
The Signing Request Status module shows all forms that signing requests has been created for and the status of those forms.
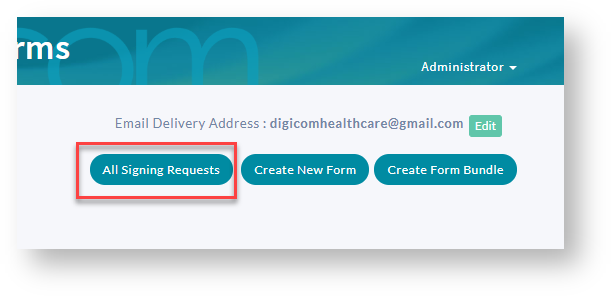
- Click “All Signing Requests”: “Click “All Signing Requests” option.

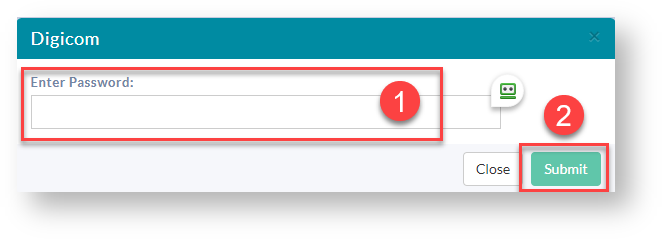
- Enter Password & Submit: Enter your account password (required for security purposes so patients don’t have access when completing their forms) and click “Submit”.

- View Sent/Received Form Status: The table under “All Signing Requests” shows the status of all forms that have been delivered or completed. The following action “Actions” are also available.

- View: View the form that was sent to patient.
- PDF: View PDF that patient completed.
- Redeliver: Redelivers PDF to email address specified for account.
- Delete: Deletes form session and if present, associated completed PDF document.
A Note on Bundles: Documents that are sent as a “Bundle” will show individually in the list rather than one bundled item.