How Can We Help?

Search for answers or browse our knowledge base.

< All Topics
Print

Android Email Setup

Table of Contents

The process outlined below may vary depending on your version of the Android OS installed on your device.


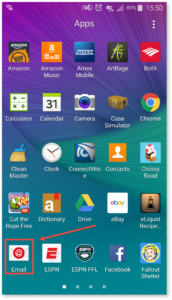
  1. Open Email App: On your Android Device, navigate to your apps directory and select “email”.                                                                                                                                                                                                                   


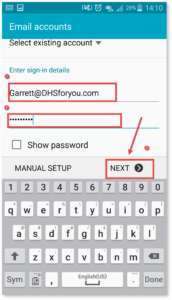
  2. Email Email Address & Password: Enter your email address, password, and click next.                                                                                                                     


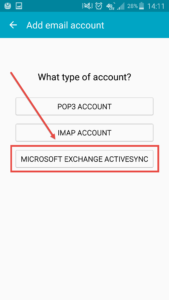
  3. Select Microsoft Exchange: Select “Microsoft Exchange” for account type.                                                                                                                                                 


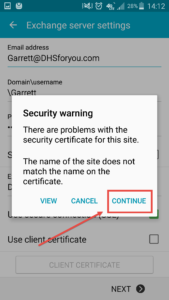
  4. Continue on Warning: If prompted by security warning, select continue.                 


  5. Enter Account Info:
    1. Enter your company Email address.
    2. For domain, enter “dhshosting.local“. 
    3. Enter your email account password. 
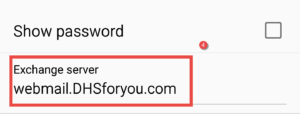
    4. For Exchange Server, enter “webmail.dtsit.com“.
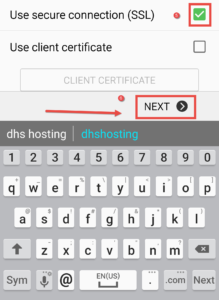
    5. Ensure that the User Secure Connection (SSL) tick box is checked.
    6. Select “Next” to complete.                                                                                         


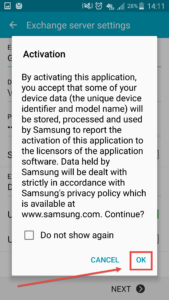
  6. Accept Activation Prompt: If prompted with an activation message, select ok.                                                   


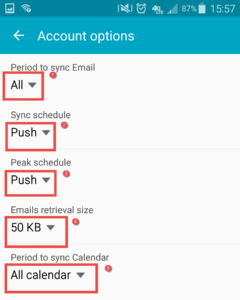
  7. Set Account Options:
    1. Change the ‘Period to sync email’ setting in section 1 to “all”
    2. Change the ‘sync schedule’ setting in section 2 to “push”
    3. Change the ‘peak schedule’ setting in section 3 to “push”
    4. Change the ’emails retrieval size’ setting in section 4 to “50KB”
    5. Change the ‘period to sync calendar’ setting in section 5 to “All calendar”
    6. Make sure all tick boxes, marked 6 through 10, are checked. 
    7. Ensure that tick boxes 11 and 12 are unchecked. 
    8. Select next.                                                                                                                     


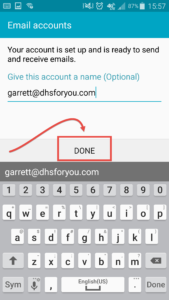
  8. Select Done: Select Done to complete your email setup for Android.                   


Was this article helpful?
Please Share Your Feedback
How Can We Improve This Article?